
How to Create a Rain-Proof Storage Box
Why a Rain-Proof Box Is Useful
When you live on or visit rural land, the weather can change fast. A rain-proof storage box keeps your essentials dry, organized, and easy to access.
Keeps tools, cords, and gear out of the rain
Prevents rust and moisture damage
Helps keep your site tidy and secure
Easy to move or place anywhere on your property
This project is low-cost, quick to build, and can be customized to your needs.
Step 1: Pick the Right Materials
The key to a rain-proof box is choosing weather-resistant materials.
Box/Base: Pressure-treated wood, plastic tote, or metal bin
Lid: Plywood, treated wood, or heavy-duty plastic
Seal: Silicone caulk or rubber weatherstripping
Hardware: Hinges, screws, handle, and a latch for security
Tip: If your area gets a lot of rain or snow, aim for durable, rot-resistant materials and raised legs to keep it off the ground.
Step 2: Build or Reinforce the Base
A strong base keeps the box stable and dry.
Cut your wood or choose a solid bin with no cracks.
Add short blocks or pressure-treated legs under the box to elevate it.
Drill drainage holes if using wood, so water doesn’t collect inside.
Seal seams with silicone to prevent leaks from underneath.
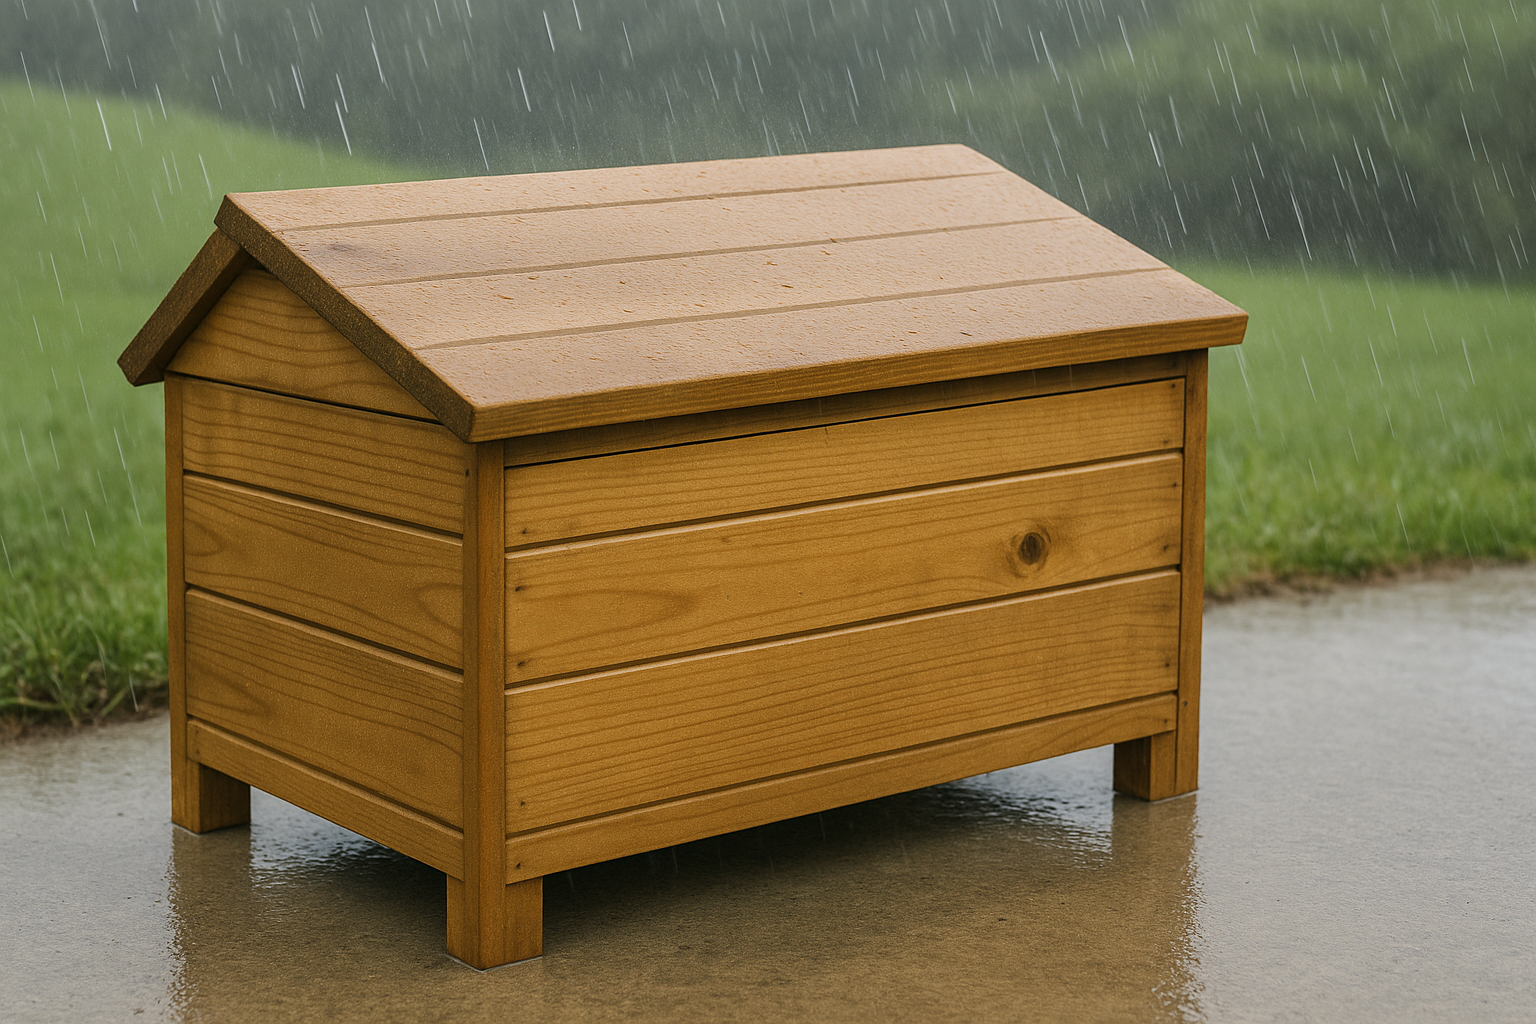
Step 3: Create a Sloped Lid
Water should never sit on top of the box. A slightly angled or sloped lid helps rain roll off.
Cut your lid piece to be at least 1 inch larger than the box.
Add a wooden strip on one side to raise it slightly.
Attach with hinges at the lower end.
Install weatherstripping along the lid edges for a tight seal.
Optional: Add a latch or padlock if you want extra security.
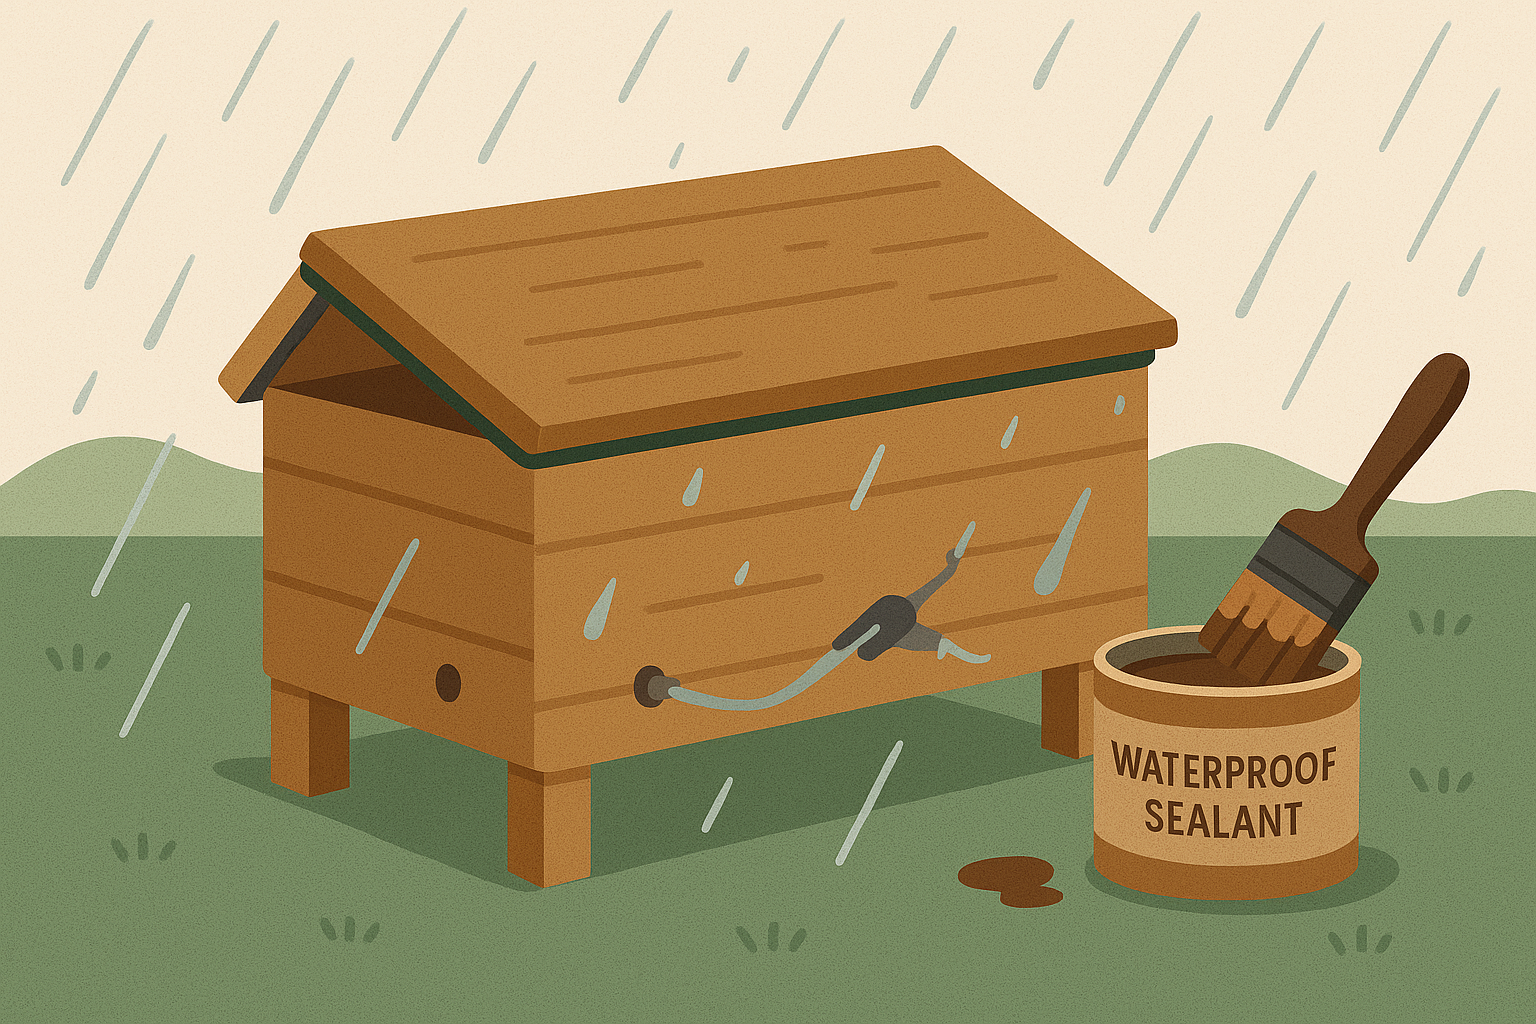
Step 4: Weatherproof the Box
This is where your sealant and finish matter most.
Apply a waterproof wood sealant or paint to all surfaces.
Caulk all seams and edges, especially where the lid meets the box.
For plastic bins, use rubber gaskets or silicone around the lid.
If storing electronics or sensitive gear, add a moisture absorber inside.
Step 5: Place and Maintain
Once complete, choose a level, elevated spot on your land or RV pad.
Keep the box slightly off the ground to avoid pooling water.
Clean out leaves and debris regularly.
Reapply sealant yearly for wood boxes.
Check weatherstripping before each season.
A small bit of maintenance keeps your rain-proof box solid for years.
FAQs About Rain-Proof Storage
Do I need to anchor the box?
If it’s light or in a windy area, anchoring or weighing it down helps keep it in place.
Can I use a plastic tote instead of wood?
Yes. Heavy-duty outdoor plastic works great with added weatherstripping.
Will this protect against snow too?
Yes, if the lid is strong, sealed, and slightly sloped to shed weight and moisture.
Why It’s Perfect for Rural Properties
Whether you’re camping, storing tools, or keeping firewood dry, a rain-proof storage box adds practical function to any property. It’s simple to build, affordable, and reliable in Utah’s changing weather.