
How to Add an RV Pad to Your Land
Why Add an RV Pad?
An RV pad gives you a designated, stable spot for your recreational vehicle. It keeps the ground from getting rutted, provides better drainage, and can increase the usability and value of your property.
More stable parking for RVs and trailers
Reduced erosion and mud problems
Easy setup for utilities if needed
Long-term improvement to your land’s layout
Step 1: Pick the Best Location
Choosing the right spot is the most important part of the process. Look for an area that’s:
Flat or gently sloped for proper leveling
Accessible from your driveway or main road
Clear of large rocks, trees, or utility lines
Far enough from property edges to allow easy maneuvering
Tip: If your land is rural, consider the view and sun exposure too. Shade and a good angle for solar can make a big difference.
Step 2: Prep and Level the Ground
Once you’ve picked the location, it’s time to clear and prepare the ground.
Remove brush, rocks, and topsoil.
Mark the pad area with stakes and string.
Level the ground with a skid steer or shovel and rake.
Compact the soil to create a solid base.
Optional: Add landscaping fabric to help prevent weeds from growing through your pad.
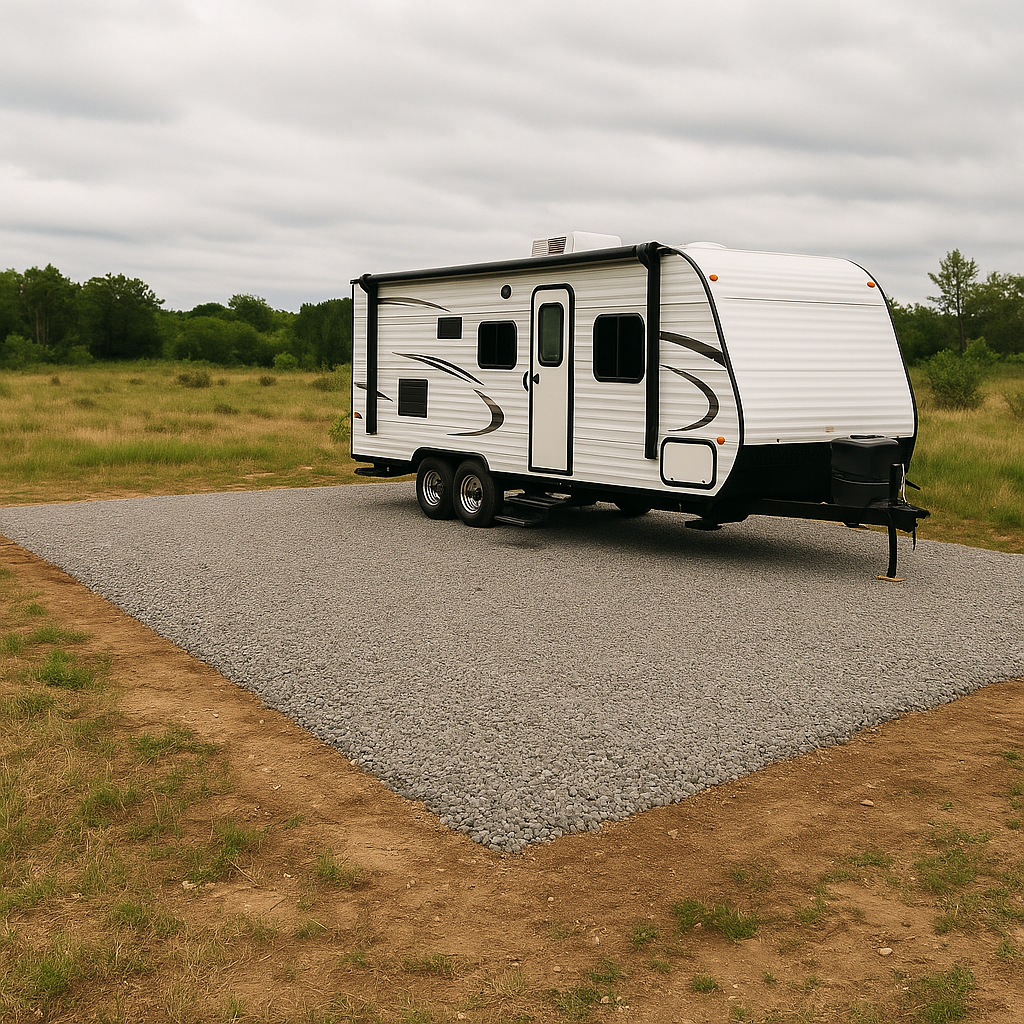
Step 3: Lay the Base Material
Most RV pads use gravel, crushed rock, or concrete, depending on your budget and long-term plans.
Gravel: Affordable, quick to install, allows for drainage.
Crushed rock: More stable and durable than basic gravel.
Concrete: Permanent solution for long-term parking.
Spread and level your material to a depth of at least 4–6 inches for gravel or rock. Compact it in layers for best results.
Step 4: Add Hookups (Optional)
If you want your RV pad to be more than just a parking space, you can add hookups for:
Water: Connect to an existing well or water line.
Power: Run a dedicated electrical line (30 or 50 amp).
Sewer: Install a septic hookup or dump station.
Note: Always check local zoning and permitting requirements before adding utilities.
Step 5: Maintain and Enjoy
Keep your RV pad in good shape by:
Raking gravel or rock regularly to stay level
Clearing debris after heavy storms
Checking hookups annually
Keeping the surrounding area mowed or trimmed
A well-maintained RV pad can make your land more functional for you, your guests, or even potential renters.

FAQs About RV Pads
Do I need a permit to add an RV pad?
This depends on your county and whether you’re adding utilities. Rural areas often have fewer restrictions, but always check with local zoning first.
What’s the best size for an RV pad?
Most pads are 12–15 feet wide and 30–45 feet long, depending on your RV’s size.
Can I build an RV pad myself?
Yes. With basic tools and equipment, gravel or crushed rock pads are a doable DIY project.
Will an RV pad increase property value?
It can. A clean, level pad adds function and appeal to rural or recreational land.
Why Choose Mountains West Ranches Land
Many of our properties already offer open terrain and easy road access — perfect for adding an RV pad. We also offer owner financing with low down payments, making it easier to start building your getaway spot right away.