.webp)
.webp)
Introduction
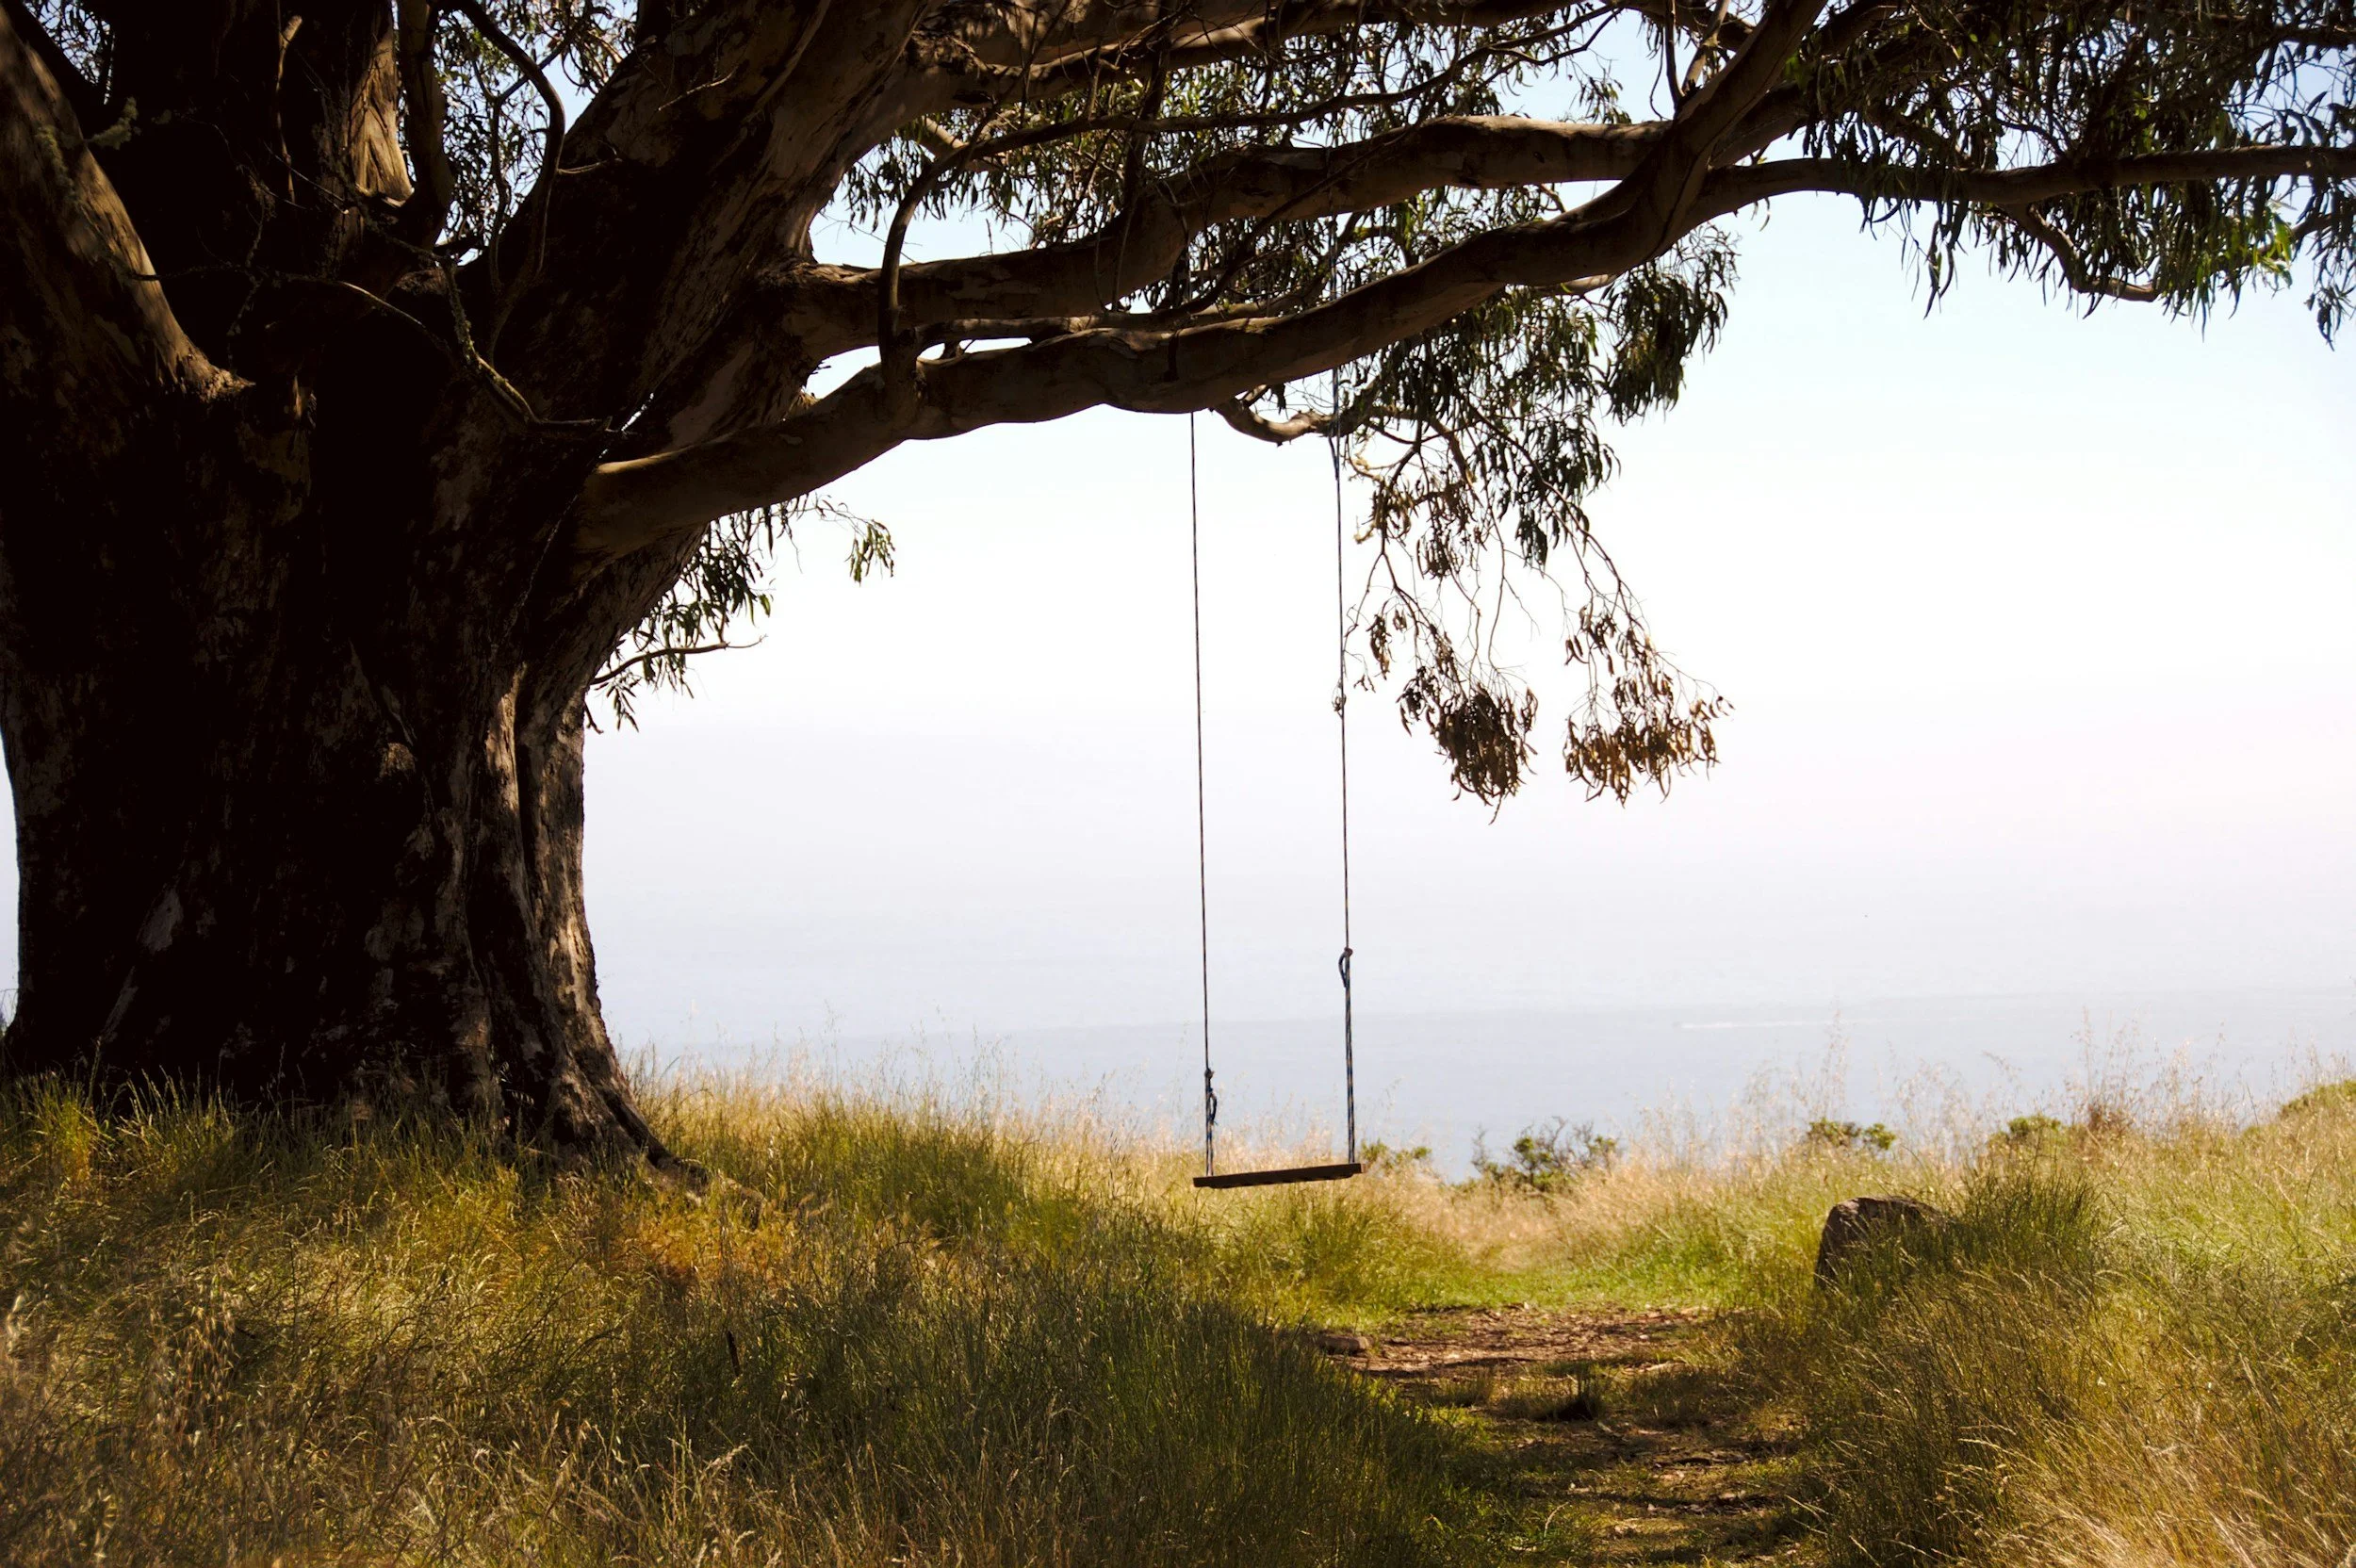
There is something timeless about a tree swing. It captures the feeling of freedom, laughter, and fresh air in one simple motion. Building your own swing can instantly transform your backyard into a space for fun and relaxation. Whether it’s for kids to enjoy after school or for adults who want a peaceful place to unwind, a sturdy tree swing adds both charm and purpose to your outdoor space.
You don’t need special carpentry skills to make one. With a healthy tree, strong materials, and a few hours of effort, you can create a swing that lasts for years. The process is simple but rewarding: choosing the right tree, gathering safe materials, and installing it properly will ensure both comfort and safety. Once complete, you’ll have a personal outdoor feature that blends nostalgia with everyday enjoyment.
Step 1: Choose the Right Tree

The most important part of building a tree swing is choosing a safe and healthy tree. Your swing will only be as strong as the branch it hangs from, so it’s worth taking time to find the perfect one. Look for a tree with a horizontal branch that is high enough off the ground to allow a full swing and thick enough to hold weight without bending.
Hardwood trees are ideal since they have dense wood that resists cracking or splitting. Avoid softwood or old trees that show signs of decay. The right branch will be 10 to 15 feet above the ground, and at least 8 to 10 inches in diameter. The area beneath it should be clear of rocks, fences, and other obstacles to allow safe movement.
Tips for picking the right tree:
- Choose oak, maple, or beech trees for strength and durability.
- Avoid any tree with cracks, hollow sections, or fungus on the trunk or branches.
- Pick a branch 10–15 feet high and at least 8 inches thick.
- Make sure the swing area is free of obstacles for at least 10 feet in all directions.
- A shady location keeps the swing comfortable on warm days.
Once your tree is selected, take a few minutes to clean the space beneath it. Leveling uneven ground and removing small hazards makes the swing safer for both kids and adults.
Step 2: Gather Your Materials
You don’t need a workshop full of tools to build a strong and comfortable tree swing. A few well-chosen materials can go a long way. Focus on outdoor-rated items that can handle sunlight, wind, and moisture.
Basic Materials:
- Wooden board (about 2 feet long and 8–10 inches wide) for the seat
- Heavy-duty rope rated for at least 500 pounds
- Power drill with a wood bit for making holes
- Galvanized screws, eye bolts, or swing straps
- Sandpaper and outdoor sealant to smooth and protect the wood
- Measuring tape, scissors, and level for setup

Optional Add-Ons:
- Paint or wood stain to personalize the seat
- Gravel or rubber mulch for a soft landing area
- Decorative caps, handles, or cushions for comfort and appearance
High-quality materials are worth the small extra cost because they make your swing safer and more durable. Polypropylene or polyester ropes are especially good choices since they resist UV rays and don’t stretch or weaken over time.
Step 3: Build and Prepare the Seat
The seat is where comfort meets safety. Begin by sanding the board to remove any splinters, rough edges, or sharp corners. Smooth wood prevents injury and gives your swing a professional look. After sanding, apply an outdoor wood sealant or weatherproof paint to protect against rain and sun exposure.
Once the finish has dried, mark and drill two holes near each end of the board. They should be about two inches from the edges and large enough for your rope to pass through. If you prefer to use hardware instead of threading rope directly, insert galvanized eye bolts through the holes and secure them with washers and nuts.
Tips for preparing your seat:
- Sand all edges thoroughly for smoothness.
- Apply two coats of sealant or outdoor paint for protection.
- Drill evenly spaced holes so the swing hangs straight.
- Use stainless steel or galvanized bolts to prevent rust.
Your swing seat should feel solid but lightweight enough to move freely when suspended. Once prepped, set it aside while you attach the ropes.
Step 4: Attach the Rope and Hang the Swing
This step is where your project comes to life. Use a strong, weather-resistant rope made for outdoor use. Polyester and nylon are both excellent options since they are strong and less likely to stretch. Cotton rope looks nice but can weaken over time, especially in wet climates.
There are two main ways to attach your swing:
- Direct Rope Method: Throw the rope over the branch and tie a secure knot, such as a bowline or double running bowline, to hold it in place.
- Swing Strap Method: Wrap heavy-duty swing straps around the branch to protect the bark and make adjustments easier.
After securing your ropes or straps, thread each end through the holes in the seat and tie large knots beneath to keep it in place. Adjust until the seat hangs level, about 18 to 20 inches above the ground.
Hanging and Adjustment Tips:
- Test the swing by pulling down firmly before sitting on it.
- Make small adjustments to ensure both sides are even.
- Trim extra rope ends and melt or tape the tips to prevent fraying.
- Keep the knots visible so you can check them periodically.
Step 5: Test, Maintain, and Enjoy
Before anyone uses the swing, perform a few safety checks. Pull the ropes down firmly to confirm they hold strong, and slowly apply body weight to test stability. Make sure the seat doesn’t tilt or twist too much. Check that the branch doesn’t creak or sag under pressure. If everything feels solid, it’s ready to enjoy.
Tree swings require little maintenance, but periodic checks will keep them safe for years. Inspect the rope for fraying, and reapply sealant to the wood each spring to protect it from weather damage. During the winter, you can remove the swing to extend its lifespan.
Maintenance Checklist:
- Inspect rope and knots every few weeks.
- Replace worn or weathered parts right away.
- Reapply paint or sealant annually.
- Store or cover the swing in harsh weather.
Once everything is secure, step back and enjoy what you’ve created. A handmade tree swing invites laughter, movement, and calm all in one. It’s a project that blends creativity and craftsmanship while giving you something your family can enjoy for years. You’ll find that even adults will want to take a turn, making it a simple backyard addition that everyone appreciates.
.png)
.png)
.png)

%20(446%20x%20128%20px)%20(306%20x%20105%20px)%20(2)%20(1).webp)


