.webp)

Outdoor Hammocking - No Trees Required
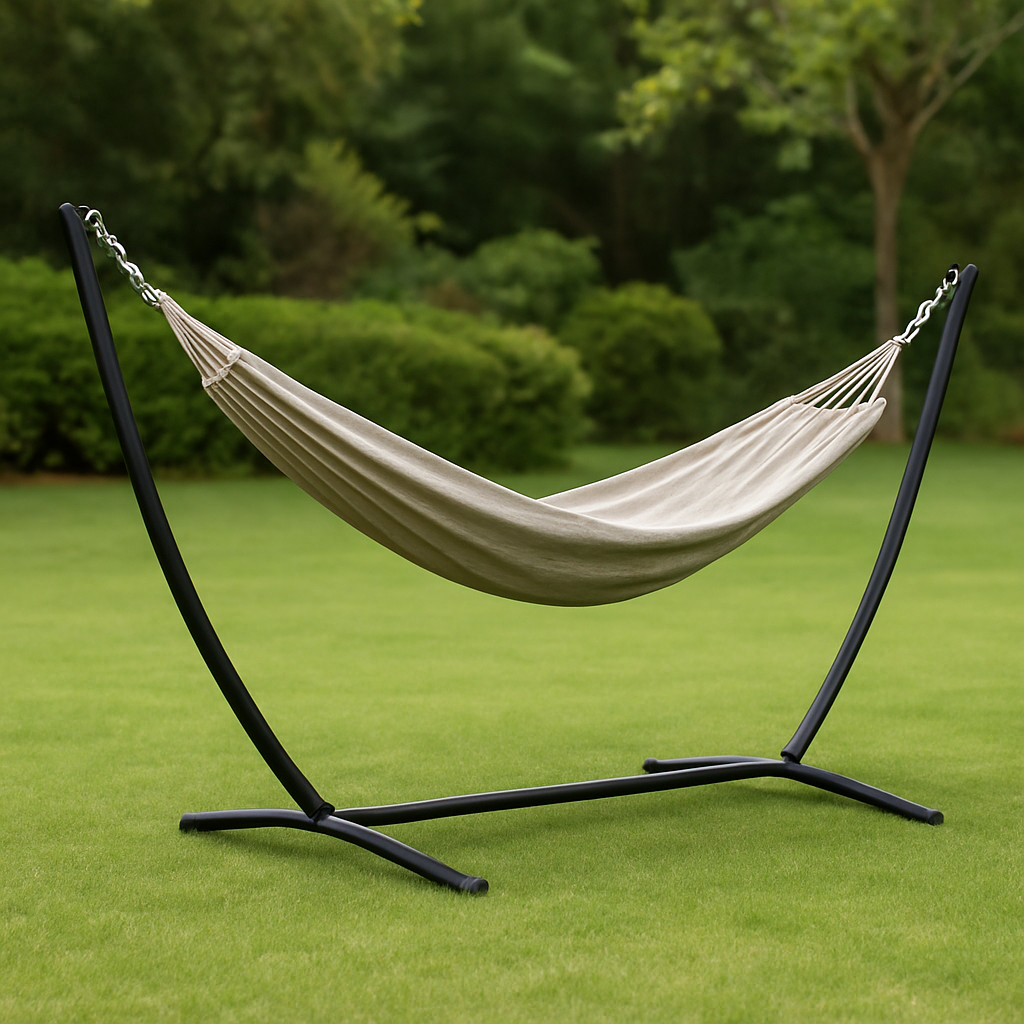
A hammock is one of the easiest ways to turn your yard into a personal retreat. But what if your backyard doesn’t have sturdy trees?
Fortunately, you can still enjoy gentle swings and shaded naps by building or installing a free-standing hammock stand. With a few tools and a free afternoon, you can create a stable setup that works on almost any patio, lawn, or deck.
1. Choose the Right Location
Start by picking a spot that’s comfortable and safe:
- Flat and level ground: Reduces wobbling and makes installation easier.
- Good shade or sun options: Place near a patio umbrella or under a pergola if you want shade.
- Clear space around it: Leave at least 3–4 feet of clearance on all sides for easy movement.
If you’re setting up on a deck, double-check the weight capacity and use brackets to secure the stand.
2. Select a Hammock Stand Type
There are a few popular choices depending on your space and budget:
- Metal Hammock Stand:
- Easiest option—buy a pre-made stand and assemble with basic tools.
- Powder-coated steel resists rust and works well on patios or lawns.
- Wooden Hammock Stand:
- Attractive and customizable.
- Build from pressure-treated lumber or cedar for outdoor durability.
- DIY 4x4 Post Stand:
- Cost-effective for larger hammocks.
- Involves setting upright posts in concrete and attaching hardware for suspension.
3. Gather Materials & Tools
For a DIY wood stand, you’ll typically need:
- Pressure-treated 4x4 or 6x6 lumber
- Heavy-duty screws or carriage bolts
- Galvanized eye bolts or hammock hooks
- Quick-set concrete (for in-ground posts)
- Drill, wrench, tape measure, and level
Having everything ready before you start will make assembly smoother.
4. Build or Assemble the Stand
For a Pre-Made Metal Stand
- Follow the manufacturer’s instructions to connect the base and upright arms.
- Tighten all bolts and check for stability before hanging the hammock.
For a Wooden Frame Stand
- Cut lumber to the desired length (about 13–15 feet for a standard hammock).
- Build a strong base with cross beams.
- Attach angled support arms to each end.
- Secure eye bolts or hooks for the hammock carabiners.
For 4x4 Post Anchors
- Dig two holes 12–15 feet apart and at least 2 feet deep.
- Set posts in concrete, checking alignment and height with a level.
- After the concrete cures, attach heavy-duty eye bolts.
5. Hang the Hammock and Test
- Clip the hammock to the stand with carabiners or S-hooks.
- Adjust the suspension until the seat hangs about 18 inches above the ground when weighted.
- Test by sitting gently first to ensure everything is secure.
If the hammock sags too much, tighten the hooks or shorten the chains.
Tips for Comfort & Safety
- Add rubber pads or pavers under the stand to prevent sinking on soft soil.
- For extra shade, position near a freestanding umbrella or install a light pergola.
- Store the hammock indoors during heavy rain or winter to extend its life.
- Periodically tighten bolts and check wood for weathering.
Final Thoughts
A tree-free backyard doesn’t mean you have to give up hammock life. With a stand—whether store-bought metal, handcrafted wood, or simple 4x4 posts—you can create a cozy, movable relaxation spot anywhere.


%20(446%20x%20128%20px)%20(306%20x%20105%20px)%20(2)%20(1).webp)


