.webp)

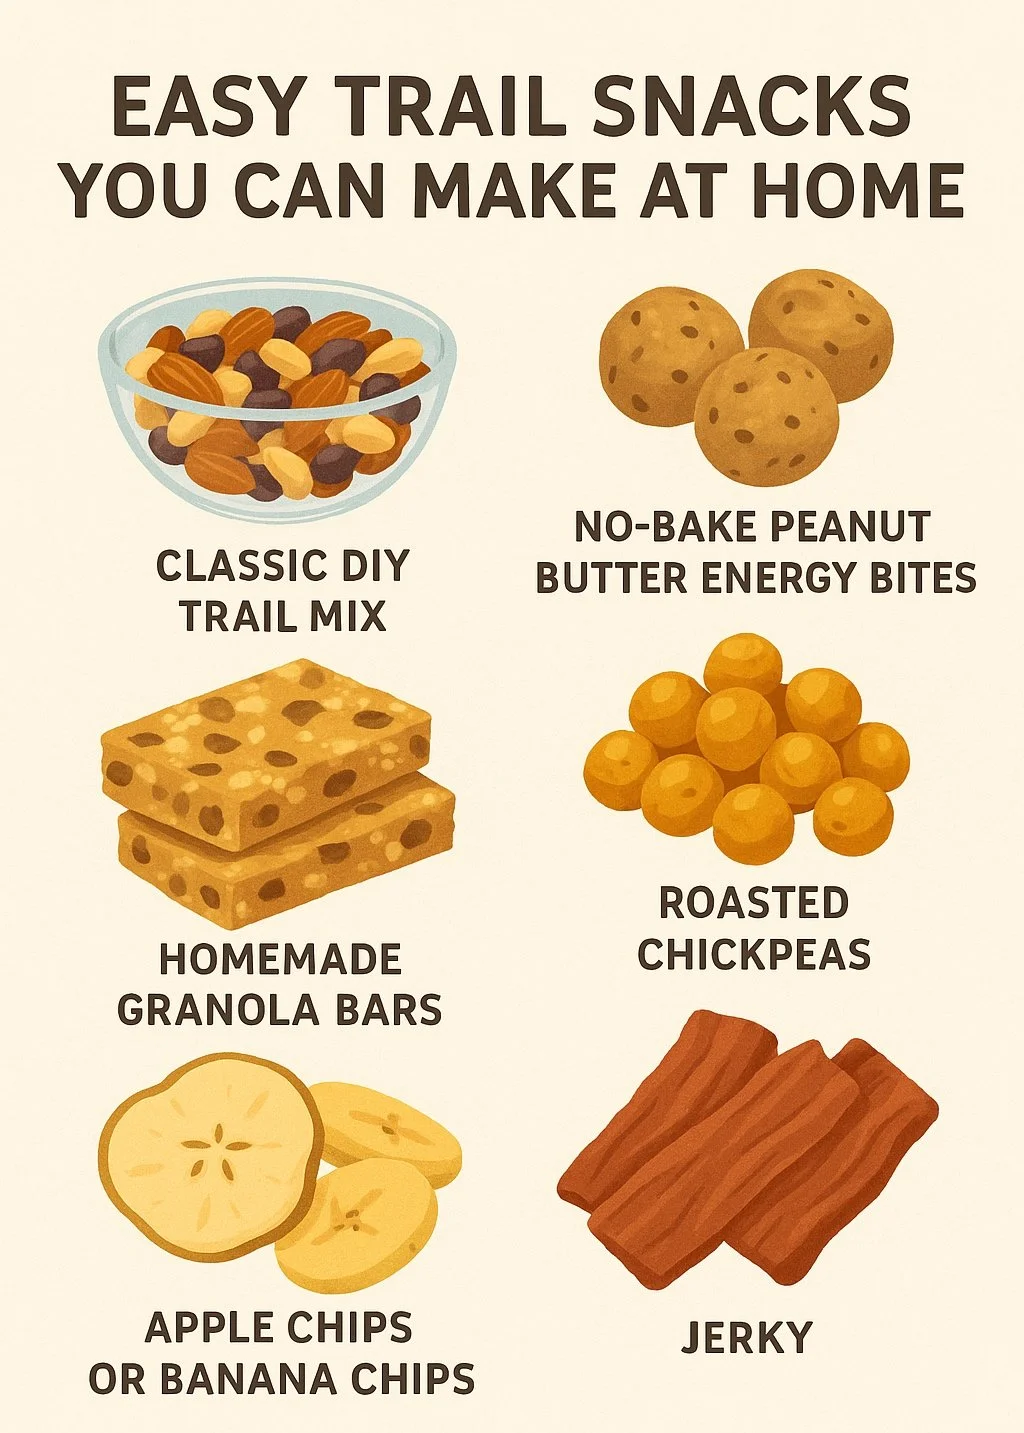
Easy Trail Snacks You Can Make at Home
Hitting the trail doesn’t mean you need to rely on overpriced or processed snacks. With just a few simple ingredients, you can prep your own trail snacks that are healthy, affordable, and perfectly packable. Whether you’re hiking, camping, or road-tripping, these DIY options are easy to throw together and keep you fueled outdoors.
Why Make Your Own Trail Snacks?
- Saves Money: Store-bought energy bars and trail mixes can add up fast.
- Healthier Ingredients: Skip the added sugar, preservatives, and artificial flavors.
- Customizable: Add your favorite nuts, dried fruit, or spices.
- Better for the Environment: Less packaging waste.
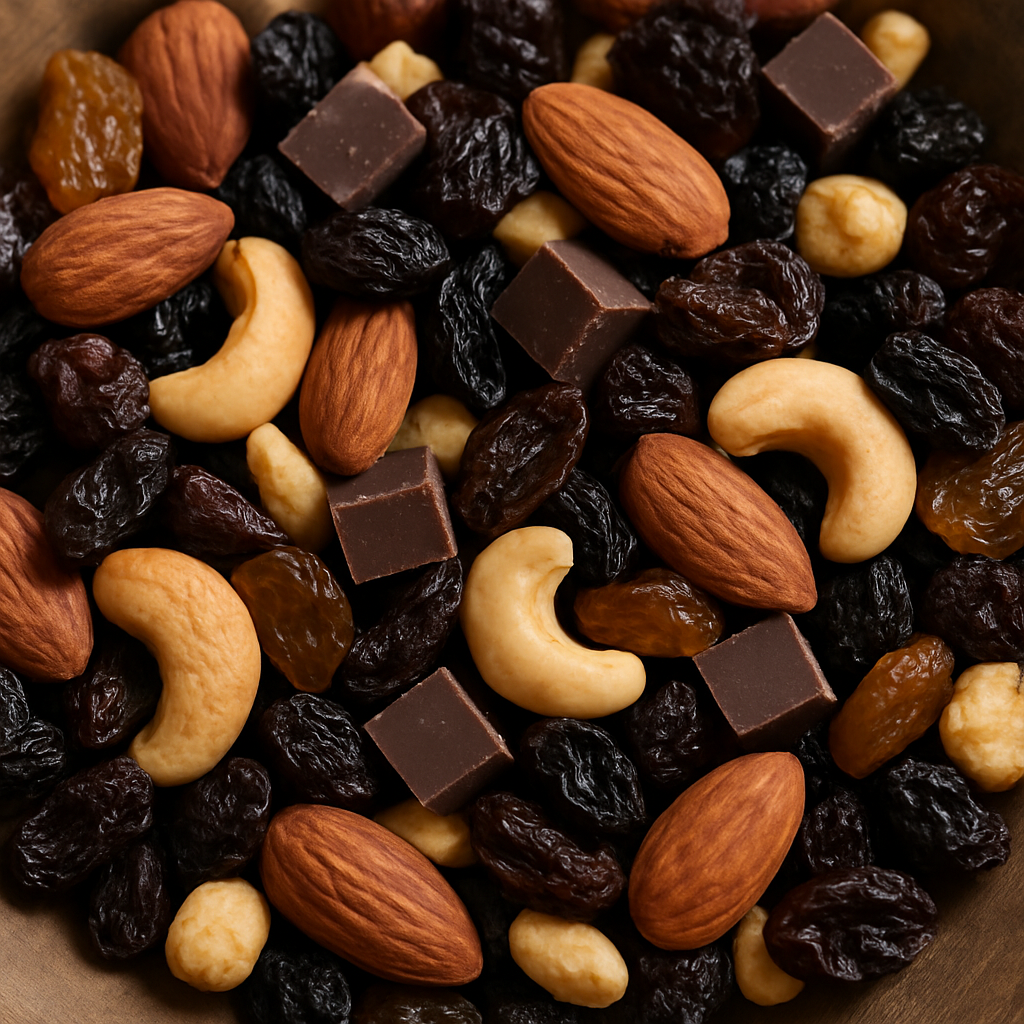
1. Classic DIY Trail Mix
What You Need:
- 1 cup almonds or peanuts
- ½ cup sunflower seeds
- ½ cup raisins or dried cranberries
- ½ cup dark chocolate chips or M&Ms
- ½ cup pretzels or granola clusters
How to Make:
Mix everything together and store in small, sealable bags. Keeps well for weeks.
Tip: Add cinnamon or coconut flakes for extra flavor.
2. No-Bake Peanut Butter Energy Bites
Ingredients:
- 1 cup rolled oats
- ½ cup peanut butter
- ¼ cup honey or maple syrup
- ¼ cup mini chocolate chips
- 1 tbsp chia or flax seeds (optional)
How to Make:
- Mix all ingredients in a bowl
- Roll into bite-sized balls
- Chill for 20–30 minutes in the fridge
- Store in an airtight container or cooler
Great For: Mid-hike energy boosts or breakfast on the go.

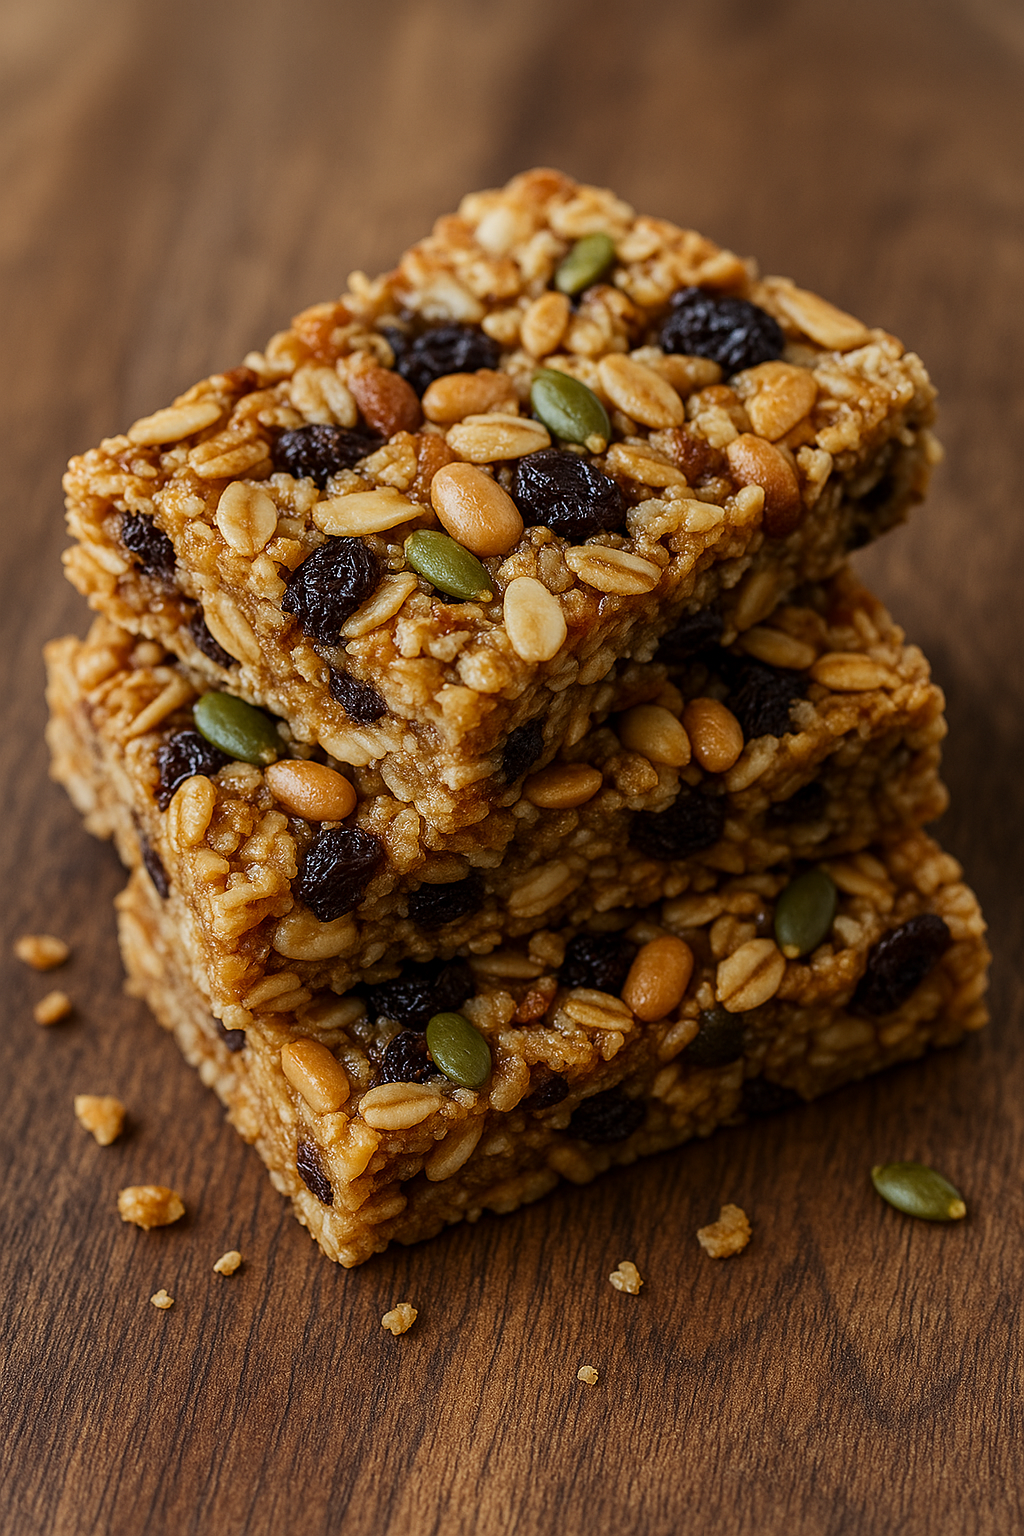
3. Homemade Granola Bars
Ingredients:
- 2 cups oats
- ½ cup nut butter (peanut, almond, etc.)
- ⅓ cup honey or agave
- ½ cup chopped nuts
- ½ cup dried fruit (cherries, apricots, raisins)
- 1 tsp vanilla extract
How to Make:
- Warm honey and nut butter in a pot
- Stir in oats, nuts, and fruit
- Press into a lined baking dish
- Chill, then cut into bars
Bonus: Wrap in parchment or wax paper for easy grab-and-go storage.
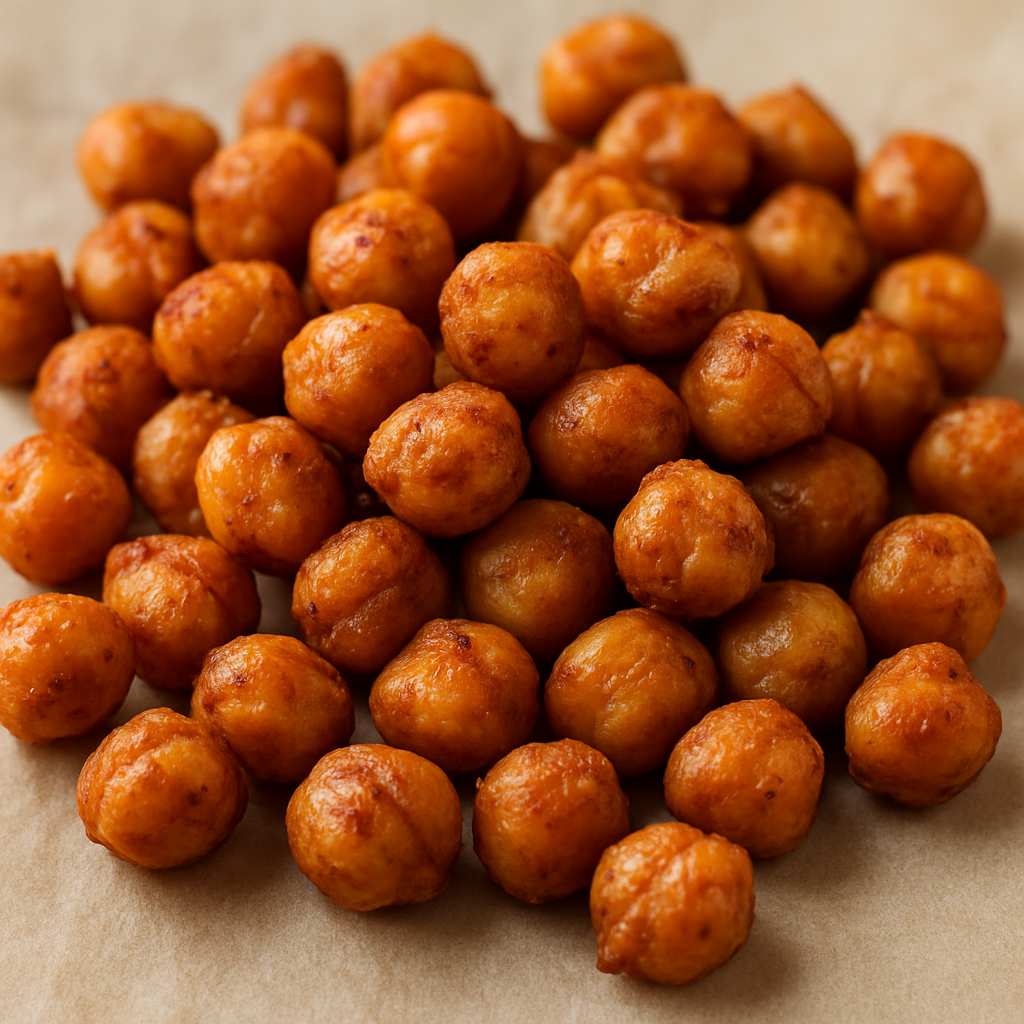
4. Roasted Chickpeas
Ingredients:
- 1 can chickpeas (rinsed and dried)
- 1 tbsp olive oil
- Salt, pepper, and your favorite seasoning (garlic, paprika, chili powder)
How to Make:
- Toss chickpeas with oil and spices
- Bake at 400°F for 25–30 minutes, shaking halfway through
- Cool completely before packing
Crispy, savory, and full of protein.
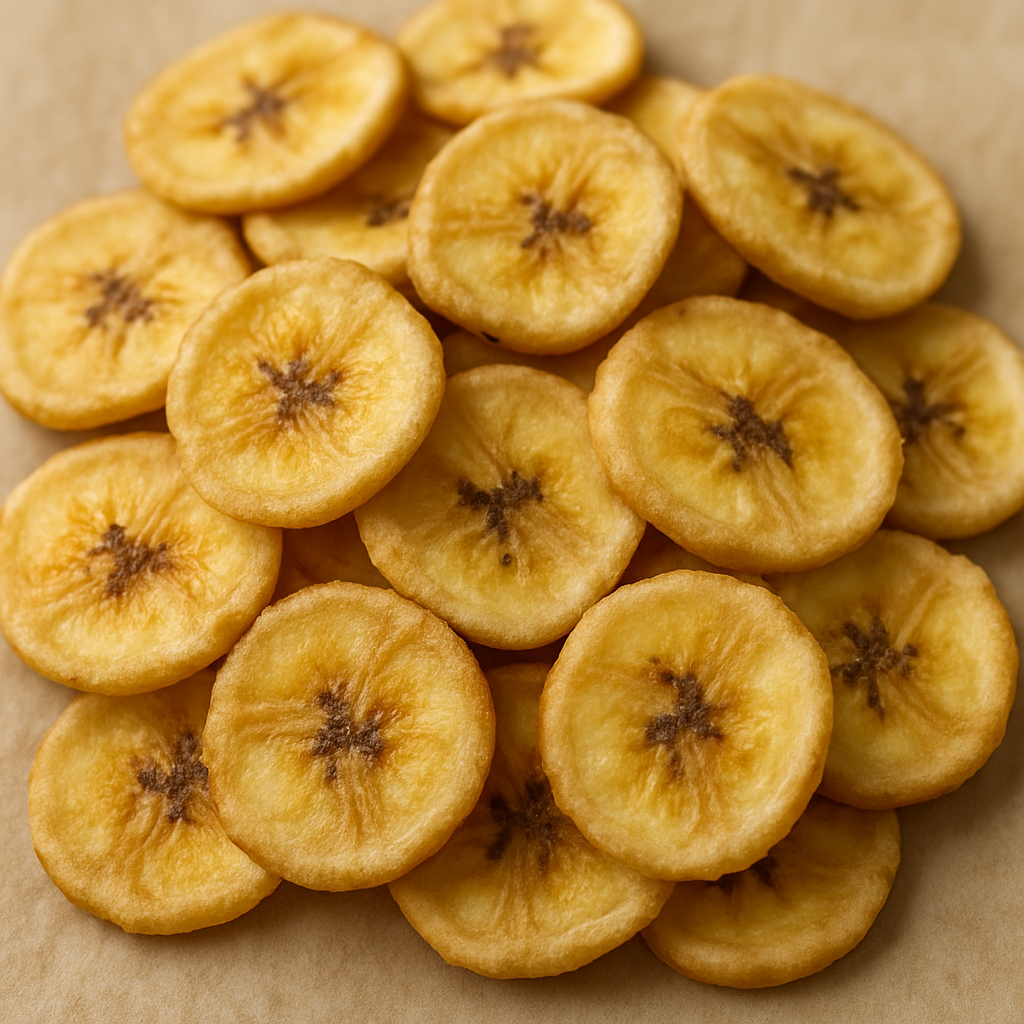
5. Apple Chips or Banana Chips
How to Make:
- Thinly slice apples or bananas
- Arrange on a baking sheet
- Bake at 200°F for 2–3 hours, flipping halfway through
- Let cool and store in an airtight container
Great For: Sweet cravings without processed sugar.
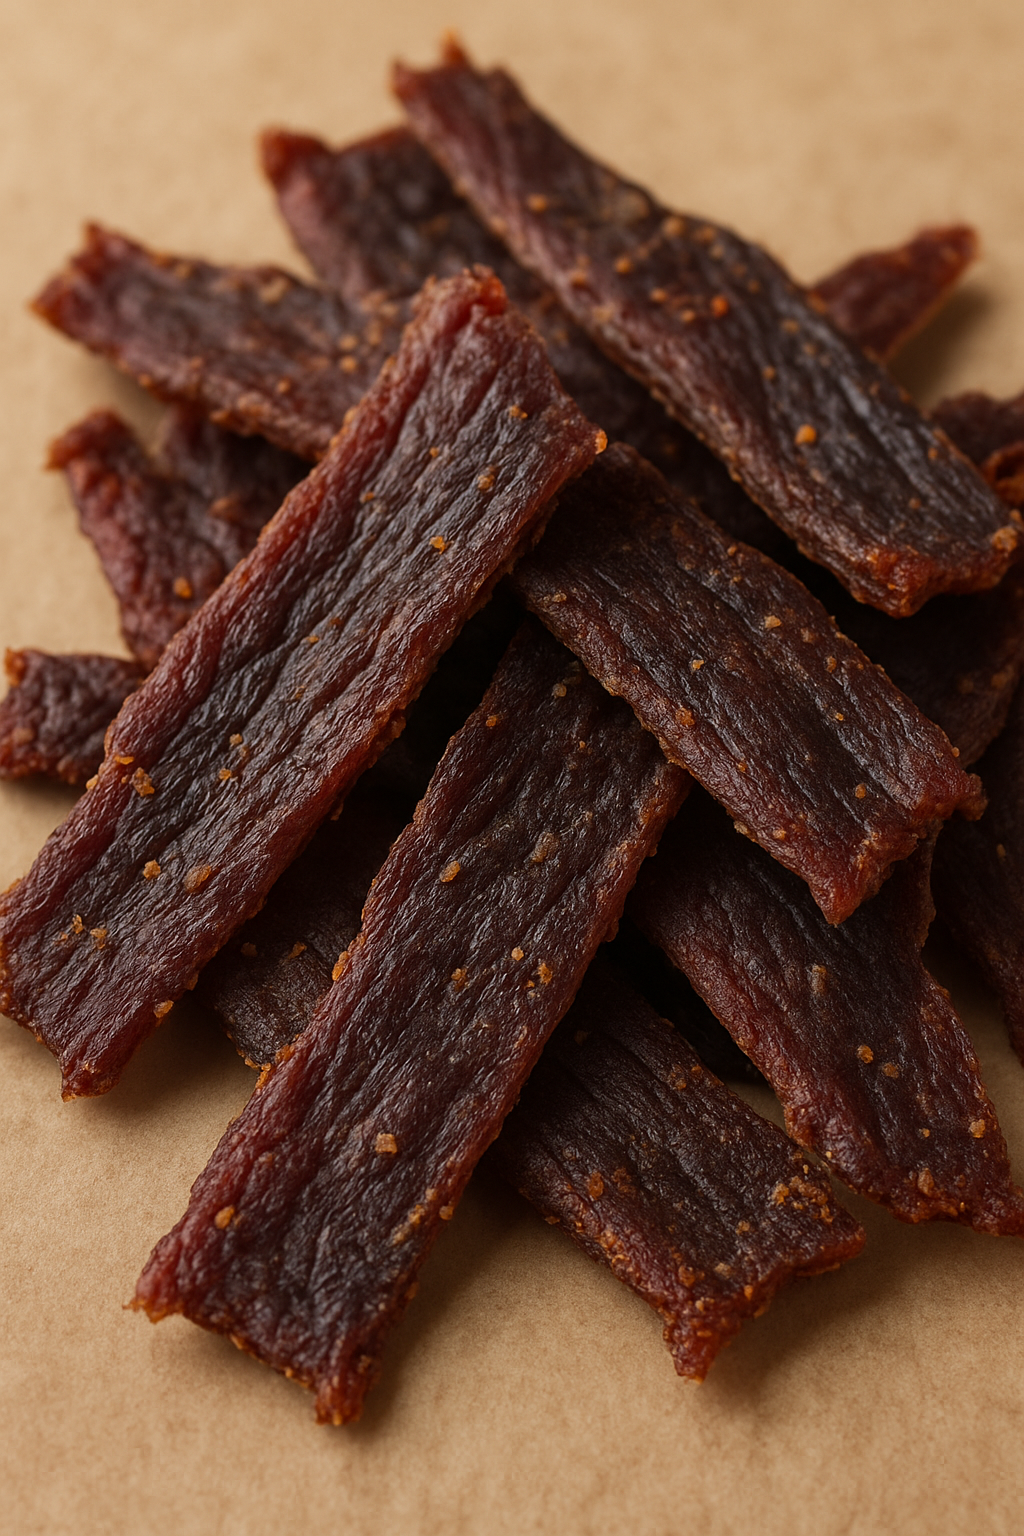
6. Jerky (Optional for Meat Eaters)
Skip the store-bought stuff loaded with preservatives.
You can dehydrate lean beef, turkey, or even mushrooms at home using a food dehydrator or oven set to low heat.
Add salt, pepper, and a simple marinade like soy sauce + garlic for flavor.
Pack Like a Pro: Snack Storage Tips
- Use reusable silicone bags or resealable containers
- Label snacks for each day of your trip
- Keep crumbly or sticky items separate from dry goods
- For long hikes, portion out snacks ahead of time to avoid overeating early
Final Thoughts
Trail snacks don’t have to be complicated. With a little prep at home, you can eat better, spend less, and keep your energy up wherever your adventures take you. Try a few of these recipes and see which ones work best for your next hike.


%20(446%20x%20128%20px)%20(306%20x%20105%20px)%20(2)%20(1).webp)


